 by
by Contents
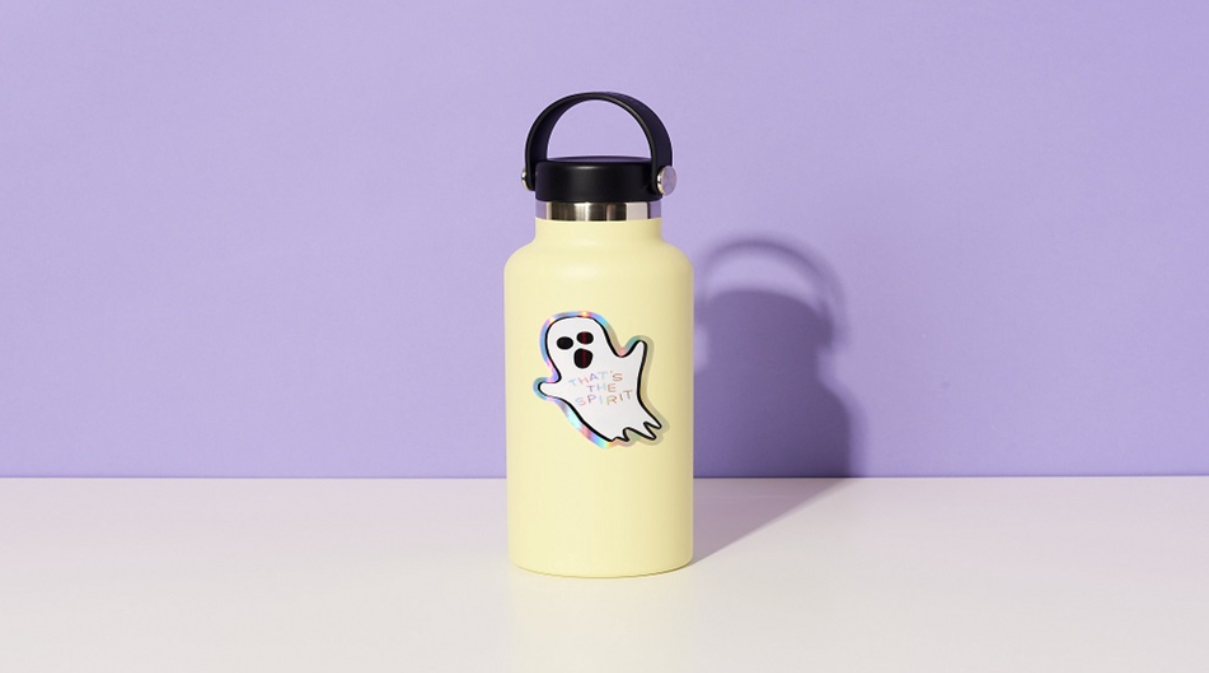
In the world of creative expression and personalization, custom vinyl stickers have become a ubiquitous medium for adding flair to surfaces ranging from laptops to vehicles. However, achieving a flawless application can be a daunting task, especially when dealing with intricate designs or large decals. Enter the wet method which is a technique revered by seasoned enthusiasts for its ability to simplify the application process and minimize errors.
In this comprehensive guide, we delve into the art of applying custom vinyl stickers using the wet method, unlocking the secrets to professional-grade results.
What is a Wet Method?
Before diving into the application process itself, it’s essential to grasp the fundamentals of the wet method. Unlike the traditional dry application, which involves directly adhering the sticker onto the surface, the wet method introduces a liquid solution to facilitate maneuverability and prevent premature bonding. By applying a mixture of water and a mild detergent onto the surface prior to sticker placement, users gain a crucial window of opportunity to reposition and smooth out the decal, resulting in a seamless finish.
You can apply smaller custom vinyl stickers without using water, but for large and very large stickers, this trick is a lifesaver.
Preparing Your Workspace
Preparation is a key to achieving optimal results with the wet method. Begin by selecting a clean, well-lit area conducive to sticker application. Ensure that the surface receiving the decal is free from dust, debris, and oils, as these can impede adhesion and compromise the longevity of the sticker. Additionally, gather the necessary supplies, including custom vinyl stickers, application tape, a squeegee or credit card, a spray bottle filled with the water and detergent solution, and a clean cloth for blotting.
Step-by-Step Application Guide
Follow these steps for the application of this method while installing custom vinyl stickers:
1: Surface Preparation
Thoroughly clean the surface with a mild detergent and water solution, ensuring it is completely dry before proceeding. This step is crucial for promoting proper adhesion and preventing any contaminants from interfering with the sticker.
2: Positioning the Sticker
Carefully peel the custom vinyl stickers from their backing, taking care not to damage or distort the design. Align the sticker on the surface, using reference points or masking tape to ensure precise placement.
3: Introducing the Wet Solution
Liberally spray the surface with the water and detergent solution, ensuring even coverage. This step serves to create a lubricated surface that facilitates smooth sticker adjustment and minimizes air bubbles.
4: Applying the Sticker
With the surface adequately moistened, gently lay the custom vinyl stickers onto the designated area, taking care to avoid trapping air bubbles beneath the decal. Use a squeegee or credit card to gradually press out any excess liquid and ensure firm adhesion.
5: Smoothing and Securing
Work from the center of the sticker outward, using smooth, overlapping strokes to remove any remaining air pockets and excess moisture. Take your time to ensure the sticker adheres uniformly to the surface, adjusting as needed to achieve the desired positioning.
6: Removing the Application Tape
Once the custom vinyl stickers are securely in place, carefully peel away the application tape at a sharp angle, ensuring the decal remains intact on the surface. If any areas lift or resist adhesion gently press them down with the squeegee and reapply pressure as needed.
For holographic stickers, the removal process requires extra care. Their unique reflective properties can make them more delicate. Take your time and ensure that the holographic design remains pristine during the application and removal steps. A little patience goes a long way in preserving their mesmerizing effect.
Troubleshooting Common Issues
Even with meticulous preparation and execution, encountering challenges during the application process is not uncommon. Fortunately, armed with the right knowledge and techniques, addressing these issues can be straightforward.
Air Bubbles: If air bubbles persist despite your best efforts, gently puncture them with a pin or needle, then use the squeegee to press out the trapped air.
Lifting Edges: Should any edges or corners of the custom vinyl stickers lift post-application, carefully lift them and apply additional pressure with the squeegee to ensure proper adhesion.
Excess Moisture: In instances where excess moisture remains trapped beneath the sticker, use a clean cloth to blot and absorb the liquid, then reapply pressure with the squeegee to facilitate drying and adhesion.
Post-Application Care and Maintenance
Once the sticker is securely in place, it’s essential to provide proper care and maintenance to prolong its lifespan and appearance. Avoid exposing the sticker to harsh chemicals, abrasive materials, or extreme temperatures, as these can compromise adhesion and cause premature deterioration.
Final Thought
In the realm of vinyl sticker application, mastering the wet method can elevate your results from amateur to professional grade. By harnessing the power of liquid lubrication, this technique empowers users to achieve flawless, bubble-free installations with ease. From meticulous surface preparation to meticulous troubleshooting, each step plays a crucial role in ensuring a seamless outcome. Armed with the insights and strategies outlined in this guide, you’re well-equipped to embark on your journey towards custom vinyl stickers perfection.
So go ahead, unleash your creativity, and let the wet method pave the way to sticker mastery.